Why are your iPhone photos so blurry (and how to improve it)
Blurry iPhone photos can come down to more than just a dirty lens. Here's how to expertly sharpen your shots and fine-tune your camera settings.
Nenhum outro meio seguido pelo Zonactu publicou ainda esta notícia.
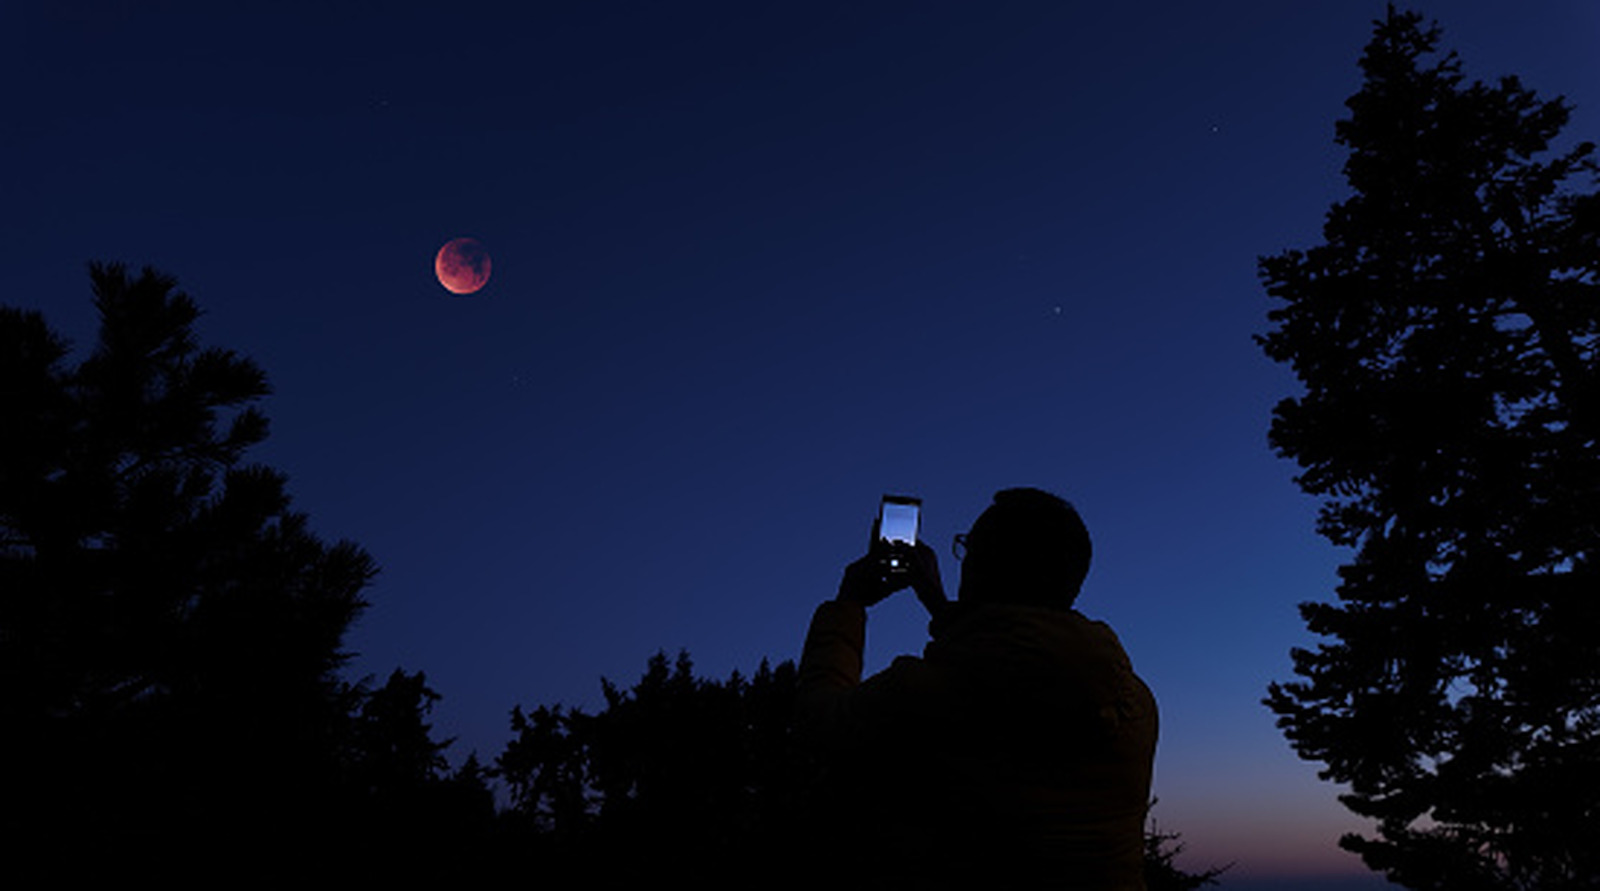
A good start is the camera settings on your iPhone (Settings > Camera), where you can change the resolution at the top (there are different frame rates and resolution settings here, but anything above 720p will generally produce crisper image quality). However, some of the more helpful features are in the camera itself, such as locking focus: Instead of letting your camera shift focus all over the place, you can tap the image and hold on the area you want to focus on until the "AE/AF LOCK" prompt appears on-screen. On models iPhone 11 and newer, you can also turn on Night Mode (signified by the moon icon at the top of the camera interface), though it will turn on automatically if you're in low light. Night Mode will automatically brighten and capture low-light images with more detail.
When it comes to adjusting shutter speeds and changing your ISO settings — slower shutter speeds can introduce motion blur, while higher ISO settings can increase visible noise and reduce image quality — you'll need a third-party app like Camera+. Apps like these let you dig into the minute controls of your camera and give you a leg up if you're on an older device. In addition to digital tools, you should consider getting a tripod to stabilize your shots if you're serious about avoiding blur. A tripod keeps the iPhone still during longer exposures, reducing camera shake that can otherwise turn small movements into visible blur — especially in low light.